


If you’re a gardener, you’re probably feeling irritated that your otherwise perfectly sound produce is now starting to sprout shoots or develop bright new tufts of foliage around the crown. Both of these actions are enough to turn many of your vegetables soft, dry and wizened, and to make the cores of carrots and parsnips hard and woody.
Developing sprouts and growing fresh foliage towards the start of spring, is brought on by warmer temperatures (this can be so subtle, we’re not even aware of it) and longer daylight hours. It’s a signal that the vegetables want to begin growing all over again – but not in a way that’s helpful to cooks! In fact, if we want to keep enjoying our root vegetables through-out spring and early summer, we have to take action, now, to save them from themselves!
One of the simplest, and most effective ways to store root vegetables for as long as possible once warmer weather is on the way, is to store them in a cool, dark, dry place. In parts of the United States and Europe, special ‘root cellars’ are built for this purpose. These are walk-in earth or concrete basements, lined with shelves to hold the likes of carrots, parsnips, turnips, swedes, beetroot, and potatoes. But before you rush to make an addition to your home, there is a more low-key solution to keeping your root vegetables in check. It’s called a ‘clamp’.
A clamp is a temporary, outdoor storage site. It is constructed on the ground, from earth and straw. Clamps should only be built where drainage is good. To test for drainage, dig a hole in the ground half a spade-blade deep. Cover it with a board or an old piece of roofing iron. Wait until the next shower of rain, then check in the hole a few hours later. If the hole doesn’t contain water, that’s a sign you can build your clamp on the site.
To build a clamp in the ground, dig a shallow depression (about half a spade-blade deep). How big you make the depression depends on how many root vegetables you need to store. Put the soil to one side while you line the depression with dry straw or hay to a depth of about 8 centimetres.
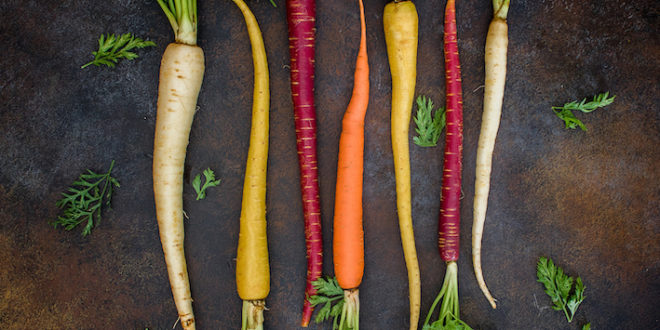
Next, assemble and prepare the veges for storage. These will be roots you have dug in autumn and stored (and which are beginning to develop shoots), and others yet to be dug (which are developing new foliage and ‘whiskery’ new roots). Trim away foliage from the vegetables, and wipe off shoots you find. As you do so, take care not to damage the vegetables.
On top of the straw, lining the depression, place your root vegetables in a single layer (avoid them touching if possible). Cover the veges with a second 8cm layer of dry straw. Next, place another layer of roots on top, and cover them with the same depth of straw. As your layering reaches up above ground level, carefully place the roots and straw so that the veges form a ‘dome’. Make a final covering of straw, leaving a good-sized tuft of it at the top of the dome. Lastly, shovel the set-aside soil over the dome to a depth (on sides and top) of around 10 centimetres (you may need to source soil from another site, as well). Allow the tuft of straw on top of the dome to poke up through it to let air into the vegetables. Firm the soil with your hands or the back of your spade.
Stored in this ‘clamp’, your vegetables will last weeks longer than if they were left in the ground or a sack or carton inside the house. As you retrieve them for use in the kitchen, simply move the soil aside and reach into the clamp for the vegetables you want. Always replace the soil afterwards.
Tip: If you have a good supply of each vegetable, make a separate clamp for each variety – it makes selecting them faster and simpler.

Join the Discussion
Type out your comment here:
You must be logged in to post a comment.