


Do you hate the idea of using endless rolls of plastic wrap to keep leftovers fresh? Maybe you’re sick and tired of never being able to find the lids for your Tupperware, or wasting precious organic vegetables because they went bad in the fridge.
Cue beeswax food wraps, your new best friend in the kitchen.
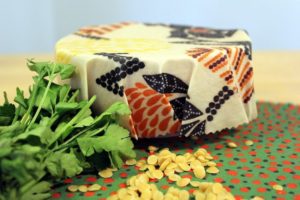
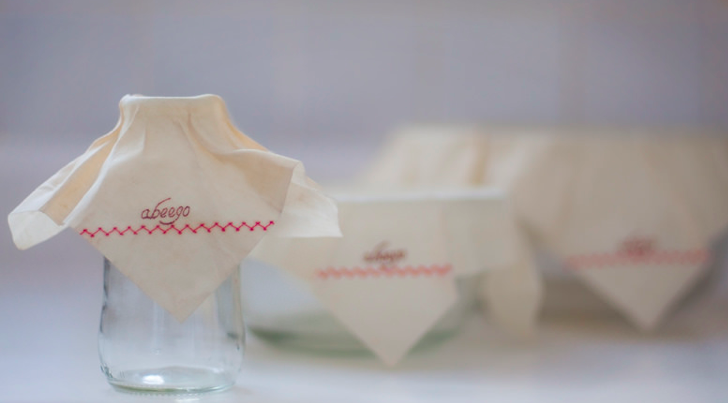
This eco-friendly alternative to plastic cling film is making it easy to keep food fresh, without leaving an environmental footprint. Or having to rummage around the cupboard for a matching Tupperware set. After use simply wash, dry and reuse.
And the best thing is these DIY beeswax food wraps are surprisingly easy to make. Basically, it’s as simple as infusing a blend of beeswax and almond oil into cotton fabric. When held in the hands the wrap becomes slightly sticky. This makes it easy to wrap it around food and create an airtight seal.
How to make your own beeswax food wraps:
What you’ll need:
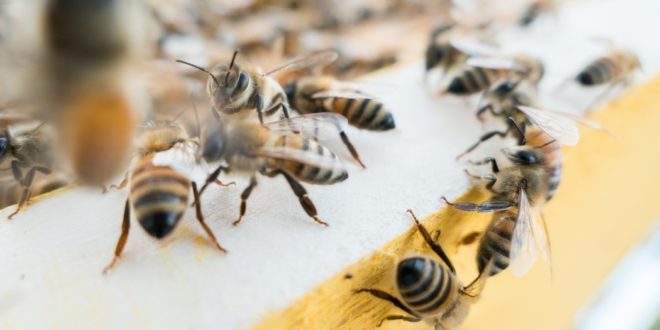
 1/3 cup grated beeswax (you can order this online or pick it up from your local farmer’s market or health food store. Or get friendly with a local beekeeper)
- ¼ teaspoon of propolis, aka “bee glue.” Don’t worry if you can’t get your hands on any, this is optional
- 2/3 cup of almond oil
- Mason jar
- A few squares of 100% cotton fabric. We used 30cm x 30cm. Before use make sure they’re washed, dried and hemmed to prevent fraying
- Small paintbrush
- Washing line and clothes pegs
Step 1:
Pour almond oil and propolis into a clean glass jar with a lid. Give it a stir, then sit on a sunny windowsill for a week. This will give the mixture a chance to infuse. Help it along by giving it a shake or a stir once a day.
Step 2:
After the oil has infused for a week remove any remaining propolis from the infusion using a sieve. Create a double boiler by filling a big saucepan with water, then placing a small saucepan on top. Make sure there’s air space in-between the two pans. Add the infused almond oil and beeswax to the top saucepan and heat slowly to melt the wax.
Step 3:
Preheat oven to 80°C and lay your cloth pieces flat on a clean baking tray. Bake for 10 minutes, then remove the tray from oven.
Step 4:
Use the paintbrush to coat each piece of cloth in a slick of the hot wax and almond oil mixture.
STEP 5:
After painting each piece of fabric lay them on top of each other and bake for a further 10 minutes. This will ensure the fabric is infused with the wax mixture.
Step 6:
Remove wraps from the oven and peg each piece to a clothesline. You’ll need to do this as quickly as possible to avoid the beeswax cooling and clumping. If this does happen simply reheat in the oven for a minute or two and try again. Leave to dry for three to five minutes, and they’re good to go.
Top tip: While you can use regular ingredients, beeswax is a fat-soluble material which means it tends to soak up and retain chemicals. For this reason, it’s best to go organic when making your beeswax wraps.
These are so easy to make, and with a stash stored in your kitchen cupboard you’ll never have to reach for the cling film again. You can get creative with patterned cloth, make different sizes and even package the wraps up and give them away as thoughtful Christmas gifts.

Ursula Pinder - 7 years ago
As it says in the article – After use simply wash, dry and reuse.