


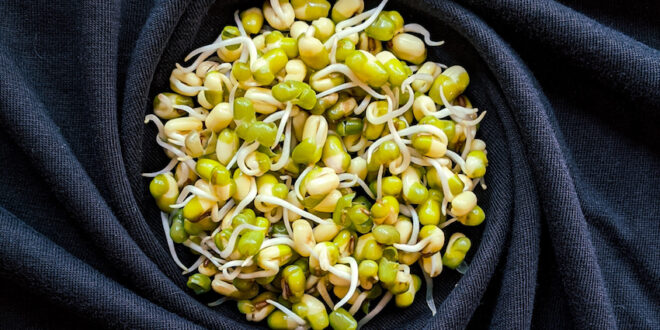
The cost of vegetables is through the roof, and with the leanest months of the year fast approaching, it might be time to consider sprouting your own greens. While mung beans are the most commonly sprouted seed – there are a whole host of spicy, nutty, exotic alternatives to try. What’s more, you don’t need a fancy sprouter to start, and a salad sandwich isn’t the only way to enjoy the results! Note: never sprout seeds which are not designed for the purpose – many seeds are treated with chemicals to help them germinate in the garden.
Grab the gear!
Commercial sprouters are fun (and they can often be found at op-shops). But here’s the thing: with a few exceptions (see details on mucilaginous seeds below), a preserving jar will do to hold your sprouting seeds, and a clean piece of muslin, held on with a rubber band, can act as a lid.
Soak and sprout
With the exception of mucilaginous seeds (see details below), your seeds will need to be soaked in lukewarm water before they can sprout. Soak tiny seeds (such as chia) for 20 minutes. Soak medium sized seeds (such as mung beans) for 8 hours. Sow larger seeds (such as peas and chickpeas) for 12 hours. After soaking, follow the instructions on your commercial sprouter or, if using the preserving jar method, drain the seeds thoroughly (a sieve can help with this) before returning them to their sprouting vessel. Sprouting seeds should be rinsed and drained daily.
Speed it up!
Sprouting seeds enjoy warmth. Hurry along the sprouting process by placing your seeds on a sunny window ledge. In cool weather, place the container of seeds on a shelf in a hot water cupboard overnight.
Mind the mucilaginous
When soaked in water, some seeds develop a gelatinous coating called ‘mucilage’. Popular mucilaginous seeds for sprouting include chia, cress, linseed, rocket, and radish. In the natural world, mucilage helps keep seed moist so it has the best chance of germinating. But mucilage isn’t so appealing if you plan on eating your sprouts. To sprout mucilaginous seeds, soak a new, clean, unglazed terracotta plant saucer in fresh water. Let it drain, then sprinkle your seeds on top of it. Cover the saucer with a clear bowl, and place it on a warm window ledge. Spray the seeds with fresh water daily (or more often if it appears the saucer is drying out). Harvest the seeds when the sprouts are about 2cm high.
Storage
Like all fresh vegetables, sprouts require care to keep them safe and healthy to eat. Don’t sprout more than a meal or two at a time, and once the sprouts are ready, keep them in a cool, dark place such as the veggie chiller of your refrigerator. Consume them promptly.
Exciting sprouts!
Many seed suppliers, including Kings Seeds and Naturally Organic, offer a range of seed specially for sprouting. Among them are some lesser known and tangy varieties which have been ready-mixed for convenience. But it’s also easy-as to mix your own according to your taste. If you’re a spice-lover, look for hotties such as daikon radish, mustard, fenugreek, and lentils. If you’re after a health kick, sprout a super-food combo of kale, chia, quinoa, and spinach. If your taste is for more mild food, play it safe by sprouting a mix of alfalfa, chard, and peas. To add colour to your fresh food, try sprouting rainbow beet, beetroot, red cabbage, and amaranth. Note: when making a mix, try to sprout seeds of similar size together.
Enjoy your sprouts
Don’t stop using your sprouts on sandwiches and in salads, there are other ways to make the most of them. Sprinkle them on the surface of omelettes, add them to savoury muffin mixes, stir them into frittata, include them in dumpling fillings and rice paper parcels, zap them along with other smoothie ingredients, and pop them into a stir fry. Tender little non-spicy sprouts can even be enjoyed in a Bircher muesli. Enjoy!

Join the Discussion
Type out your comment here:
You must be logged in to post a comment.