Sure, it may be easier to simply stock up on essential oils at your local health store, but where’s the sense of achievement? We love a good DIY tutorial, especially when the focus is on all natural, ‘wellness’ inspired creations.
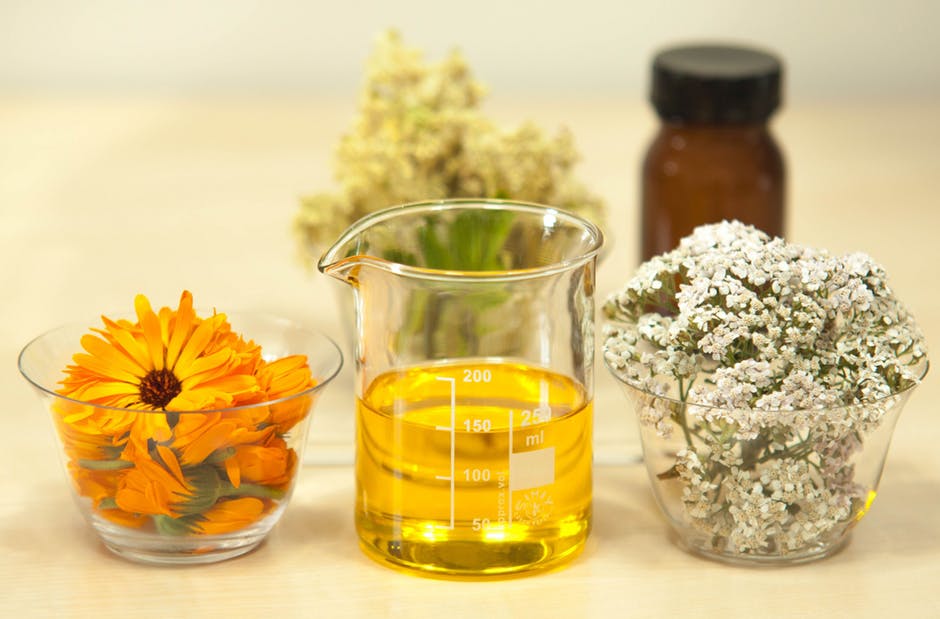
Essential oils fit the bill perfectly. While you can easily pick up chemical based ‘fragrance’ oils for a few dollars or so, pure essential oils rely on 100% pure plant extracts. The oils are typically sourced through steam distillation, and while most commercial manufacturers rely on sophisticated equipment you can DIY with just a handful of basic kitchen staples.

Here’s how:
Step 1: Choose your plant material

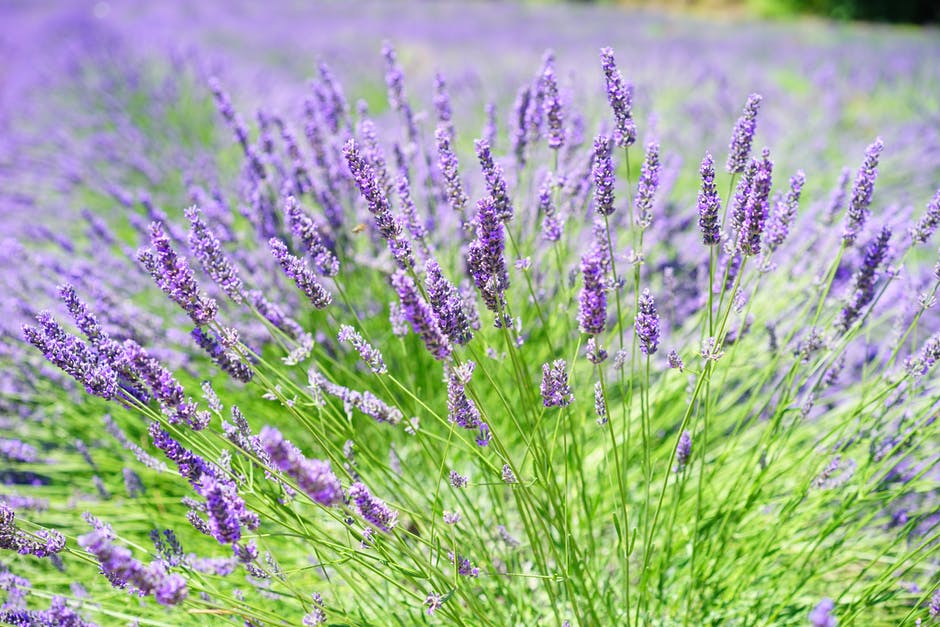
This is the fun part as it gives you the freedom to create essential oils from whatever bountiful produce you may have on hand. For example, if you have a thriving lavender bush in your garden that’s gone a little wild why not give it a good trim and use the flowers to make your own lavender essential oil? The same goes for if you have a fruitful orange tree, or simply see a great sale on a bag of lemons at your local farmers market. Remember, with things like citrus you’ll be using the peel, not the actual fruit itself. Mint is another fantastic plant as it grows like a weed which makes it easy to harvest. You’ll need around three to four cups of fresh plant material which should yield around a teaspoon or so of essential oil. It’s best to use fresh plant material as opposed to dried as this will maximise volume and scent.
Step 2: Start the distillation process
Fill a crock pot with distilled water and add plant material. It’s usually best to dice your plant material as this will increase surface volume and help extract as much natural oil as possible. Add a lid and cook on low for 24 hours. A great idea is to put the lid on upside down to create a concave shape that will allow steam to condense and drip back into the pot. This way you don’t waste any precious oils. If you don’t want to leave the pot on overnight simply switch off before you go to bed then fire up again in the morning.
Step 3: Let it brew
 After slow cooking the plant material leave the crock pot open and allow the concoction to sit for a week. Oil should start to rise to the surface, which you can then collect. We love this step as while your oil blend is sitting your kitchen will smell amazing. Once you’ve harvested your oil transfer it into a dark glass container (this will help the oil to maintain its properties and scent.) Cover with a piece of thin cloth and allow it to sit for a week to evaporate any excess water.
Step 4: Enjoy!
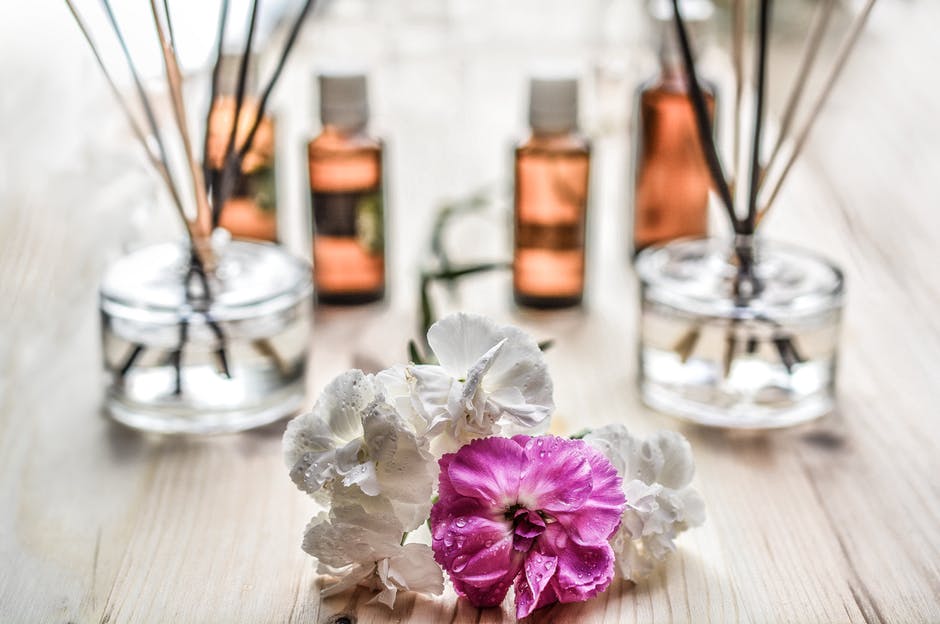
It’s a bit of a lengthy process, but after the final evaporation step you’ll have made your own, 100% natural hand harvested essential oil. Transfer into a small glass bottle (again look for darker shades), label and enjoy. With a little creativity and a handmade label homemade essential oils make amazing Christmas gifts, so if you start now you could have plenty on hand by December 25.
Do you have any experience making your own essential oils? We’d love to hear your tips and recipes so go ahead and share with the GrownUps community.


Join the Discussion
Type out your comment here:
You must be logged in to post a comment.