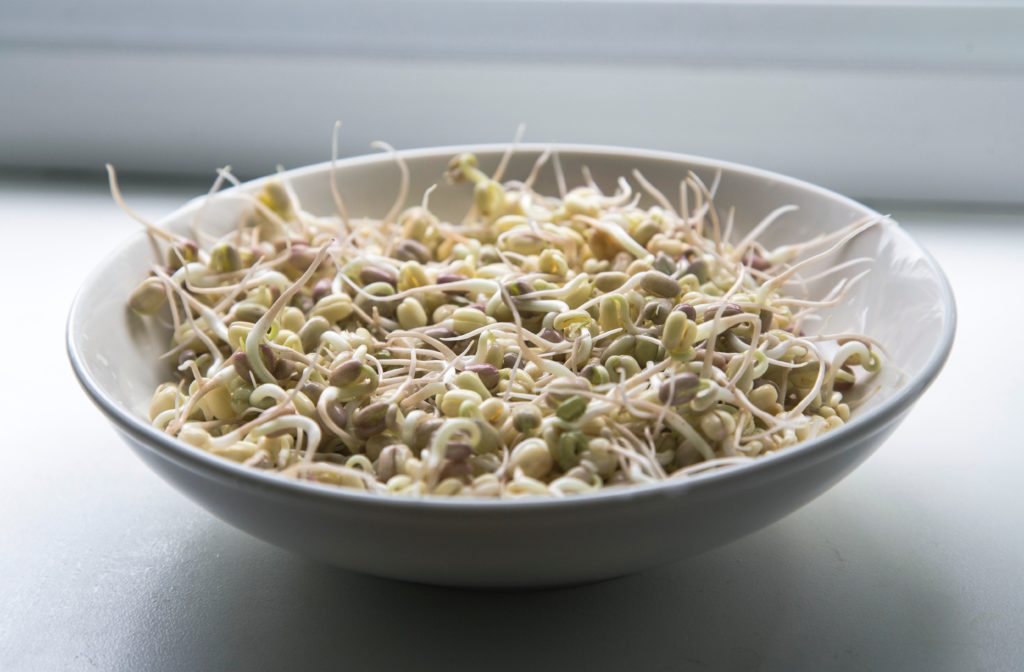
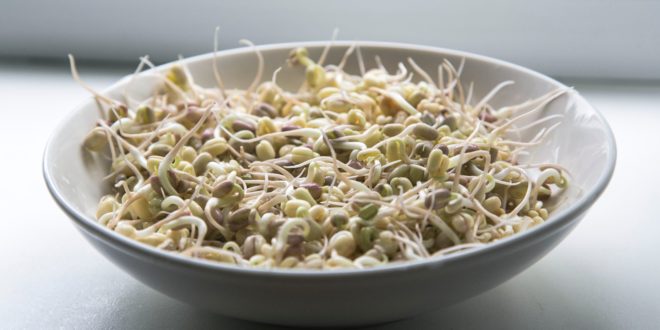
Cress and mustard seeds are fine for the beginner sprouter, and there’s nothing tastier than a mung bean with a tail, but if you want to add a touch of sophistication to your sprouting, we have 2 new seeds that will excite your senses and spice up your salads! What’s more, you can find them all on the shelves of your supermarket!

Quinoa
This South American grain is a member of the Amaranth family, which also includes our garden favourite ‘love lies bleeding’. Always use food grade (not garden seed) quinoa for sprouting, and support Kiwi growers whenever possible by choosing New Zealand-grown produce. Food grade quinoa can be found in the organics, gluten-free or baking aisles of the supermarket,
Quinoa seed is tiny, even after it’s been soaked in water, so a spatula is one of the best tools for moving it from one container to another once it’s wet. The key to successful quinoa sprouting is to keep in mind that, as a growing plant, it doesn’t like wet feet. That’s why it needs to drain thoroughly during the sprouting process.
To sprout quinoa, first rinse the seed in a fine-mesh sieve. Move the seed into a large glass jar, and add enough fresh water to cover. Screw a purpose-made sprouting lid onto the jar, or cover the opening with a piece of clean muslin or cheese cloth held tightly to the rim with a rubber band. Soak for 3 hours. Tip the jar upside down in your sink so all the water drains out. Place the jar, still upside down, on a clean tea towel for 2-3 hours to complete the draining. Once the seed looks dry-ish, wrap the jar (right side up) in a dry tea towel, and place in a warm place (a hot water cylinder cupboard is perfect, as is a spot beside the log burner, a sunny window ledge, or a heated seed-raising pad). Repeat the soaking-and-draining routine every 5-6 hours during the day. Your seeds should be ready to add to salads and sandwiches in about 24 hours.
Chia
Another tiny seed, chia hails from Central and South America, and is also grown in parts of Australia and the United States. Always use food grade (not garden seed) chia for sprouting, and seek it out in the organics, gluten-free or baking aisles of the supermarket. Unlike many seeds which can be sprouted, chia has mucilaginous properties. Seeds which are mucilaginous develop a gel-like substance around their shells when soaked in water. This tendency means they can lock-in much needed moisture to help them germinate in times of drought. For the sprouter, however, this gelling ability can cause problems unless you know how to work around it.
To sprout chia, follow either of these methods: Line a shallow dish with muslin or cheese cloth, sprinkle over it a few tea spoons of chi seed (or enough seed to lightly cover the surface). Using a spray bottle, finely mist the chia seed to moisten them. Cover the dish with a plate, and place the seeds in a warm, dark place. Re-mist the seeds each day for 2-3 days until the seeds sprout. Once sprouted, remove the plate, and place the seeds in the light to encourage them to grow small leaves (remembering to mist each day until harvest).
Alternatively, place a new, previously unused terracotta saucer (the sort used as a drip-catcher under a pot plant) in a dish of fresh water (the water should come half way up the dish). Once the saucer has absorbed the water, scatter the chia seed on its surface. Cover the saucer with a plate, and place it in a warm, dark place (remember to keep the water in the dish topped up). Once the chia seed have sprouted (in 2-3 days), remove the plate, and place the saucer, in its dish of water, in the light to encourage leaves to grow.


Join the Discussion
Type out your comment here:
You must be logged in to post a comment.