
Grow Your Own Tasty Treats (without having to step into the garden!)
When temperatures fall, the price of fresh produce soars, and suddenly, you’re paying upward of $4 for a cabbage, and even more for a cauli. To make the most of these basic but expensive items, lift them to new heights with tasty, home-grown, out-of-season treats.
Awesome alliums
Alliums encompass a wide range of plants in the onion family, including those with the sorts of green, tangy tops we use in salads or scatter over a breakfast omelette. In the colder months, these tops die down, but they can be coaxed into life again with some loving care. And the good news is, we don’t even need to step into the chilly garden to do it.
To grow flavoursome allium greens, first source shallot, garlic and small onion bulbs. These can be found at your local garden centre, the super market (and sometimes, hiding, in the depths of your vegetable bin!) If buying from the super market, avoid any alliums that have been treated to prevent germination – enquire from customer service if this is the case.
Break your garlic bulbs into individual cloves (this stimulates them to grow shoots). If the shallots can be divided into two or more bulbs, do so. Leave onions whole. Place your alliums in a shallow, clear glass or plastic dish on a sunny window ledge. DO NOT ADD WATER.
Once your alliums sprout (which can take from 10 to 14 days), don’t be tempted to water them – they contain enough moisture in their bulbs or cloves to support the shoots. Let the green tops grow to at least 8 centimetres long before snipping off no more than a third of them for use in the kitchen (they will continue to grow, so you can repeat the routine several times before the bulbs ‘wear out’). Alternatively, promote a longer period of growth by pressing the base of a sprouted bulb or clove into a container of potting mix. If you do this, keep the mix damp, not wet (the test is to push a finger into the mix – if it comes away clean, it’s time to add water; if the mix sticks to your finger, there is enough moisture already in the mix).
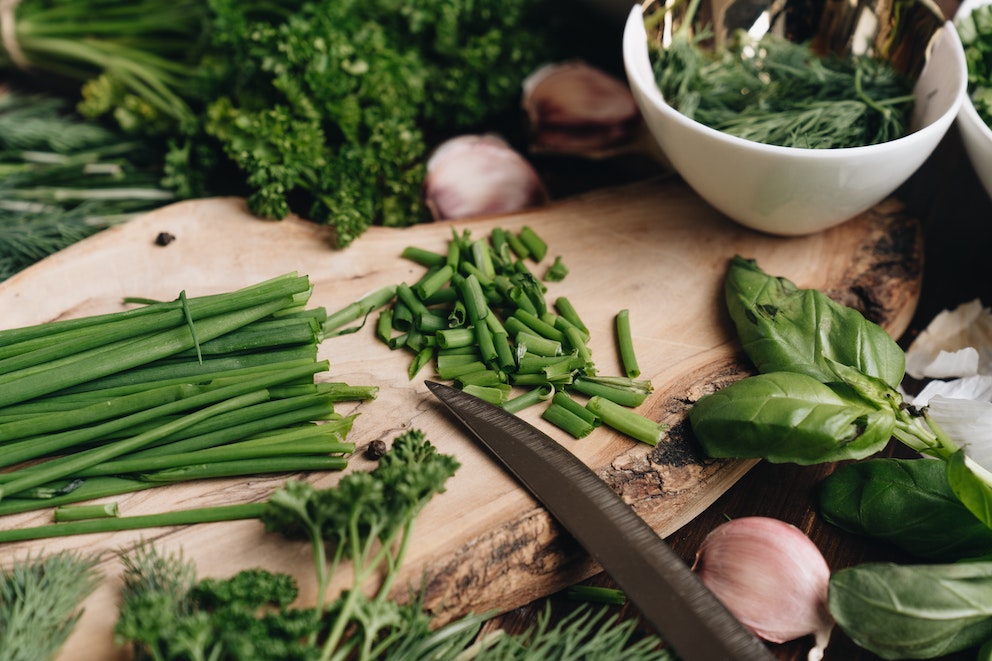
Hero herbs
Winter is not the time to be growing bushy herbs (such as thyme, rosemary, sage and oregano). However, the cooler months lend themselves perfectly to the indoor growing of soft, tasty, green herbs such as chervil, dill, basil and coriander.
You can grow these herbs from seed in window ledge pots. Although terracotta pots are aesthetically pleasing, they dry out quickly in an indoor setting, so if you plan to use them rather than plastic or felt pots, line them with a plastic bag (and remember to punch drainage holes in its base).
Fill the pots with fine seed raising mix (Black Magic works best, but if the mix you have isn’t fine, sieve it before using). Fill each pot only two thirds with mix so that when the herbs are growing, they are supported by the walls of the container. Dampen (don’t wet) the mix before sowing the seed. Scatter the seed thickly (so it is almost touching), cover it sparingly with mix and press it down with your fingers until you can feel the damp from beneath reach the surface. Do not water the seed at this stage (in winter, over watering is the biggest killer of indoor plants). Cover the pot with a plastic bag held on with a rubber band. You should not need to water the seeds until they germinate
Once the seeds appear through the ground, remove the bag, and dribble water onto them using your finger tips or a teaspoon (don’t water them from a jug). Turn the pots several times a day so the plants get an even share of light. Harvest with scissors once the foliage is full and frothy.
Making the most of small amounts of fresh herbs
• Scatter them whole or snipped on top of creamy soups, surrounded by a swirl of good-quality olive oil.
• Mix fresh soft herbs into butter for use on savoury muffins and scones.
• Combine soft snipped herbs with cream cheese to serve on seed crackers.
• Sprinkle over salads or a coleslaw.